If you’re new to astronomy, stargazing can feel strangely intimidating. Not because it’s hard — but because the internet makes it feel like you need gear, apps, and expert knowledge before you’re “allowed” to begin.
This guide to stargazing for newcomers explains the simple steps anyone can follow to explore the night sky without expensive equipment.
Here’s the truth: stargazing for newcomers starts with your eyes. You can enjoy your first great night under the sky with almost no equipment at all — if you follow a calm, simple sequence.
Stargazing for newcomers: Night planning guide
A Calm Way to Start Stargazing (Without Buying Anything)
The biggest newcomer mistake is starting with shopping. The better approach is:
- Start with orientation (where you are, what time it is, what direction you’re facing)
- Learn a few easy targets (Moon, bright planets, simple star patterns)
- Build confidence first, then upgrade your gear only if it adds real value
This guide follows that exact sequence.
Step 1: Choose the Right Time (So You Actually See Something)
Stargazing gets dramatically easier when you stack the odds in your favor:
- Go out on a clear night (thin clouds can hide everything)
- Avoid bright moonlight if you want to see lots of stars (but the Moon itself is an excellent beginner target)
- Start early — you don’t need midnight. Even 7–10 pm can be fantastic.
Newcomer shortcut: If you can see a good number of stars within 5 minutes of stepping outside, you’re in a workable spot.
Step 2: Find a Better Location (Even If You Stay Close to Home)
Light pollution is the #1 reason newcomers feel disappointed. You don’t need to travel for hours, but you do want to reduce glare.
- Step away from streetlights and porch lights
- Use the shadow of a building or tree line to block direct glare
- If possible, head to a park, oval, or lookout with a wide view of the sky
Tip: The best newcomer location is not “perfect darkness.” It’s simply a place where your eyes can adjust without being blasted by artificial light.
Step 3: Give Your Eyes Time to Adjust (This Changes Everything)
Your eyes need time to adapt to darkness. This is where stargazing becomes real.
- Allow 10–15 minutes before judging the sky
- Avoid looking at phone screens (or dim them heavily)
- If you use a light, use a red flashlight to preserve night vision
Most newcomers quit too early — right before their eyes fully adjust.

Newcomer stargazing guide: learning the night sky without a telescope
Step 4: Start With Easy Targets (So You Get a Win Fast)
Here are the best first targets for stargazing for newcomers:
The Moon
The Moon is the perfect “first win.” It’s bright, detailed, and changes night to night. You can enjoy it with your eyes, binoculars, or any basic telescope later.
Bright Planets
Planets don’t twinkle the same way stars do, and they often look like steady, bright “lights” in the sky. When visible, they’re among the most rewarding targets for newcomers.
Simple Star Patterns
Instead of trying to learn every constellation, start with just one or two obvious patterns. Once you can recognize a single pattern, the sky stops feeling random.
Best Stargazing Apps for Newcomers (to help you identify planets and patterns without overwhelm).
Step 5: What to Bring (Newcomer Stargazing Checklist)
You don’t need much — but these simple items make the experience far more enjoyable:
- A chair or blanket (comfort keeps you outside longer)
- A warm layer (nights get cold faster than people expect)
- A hot drink (optional, but it helps)
- A red flashlight (or red light mode)
- Binoculars (optional — the best “first upgrade” for beginners)
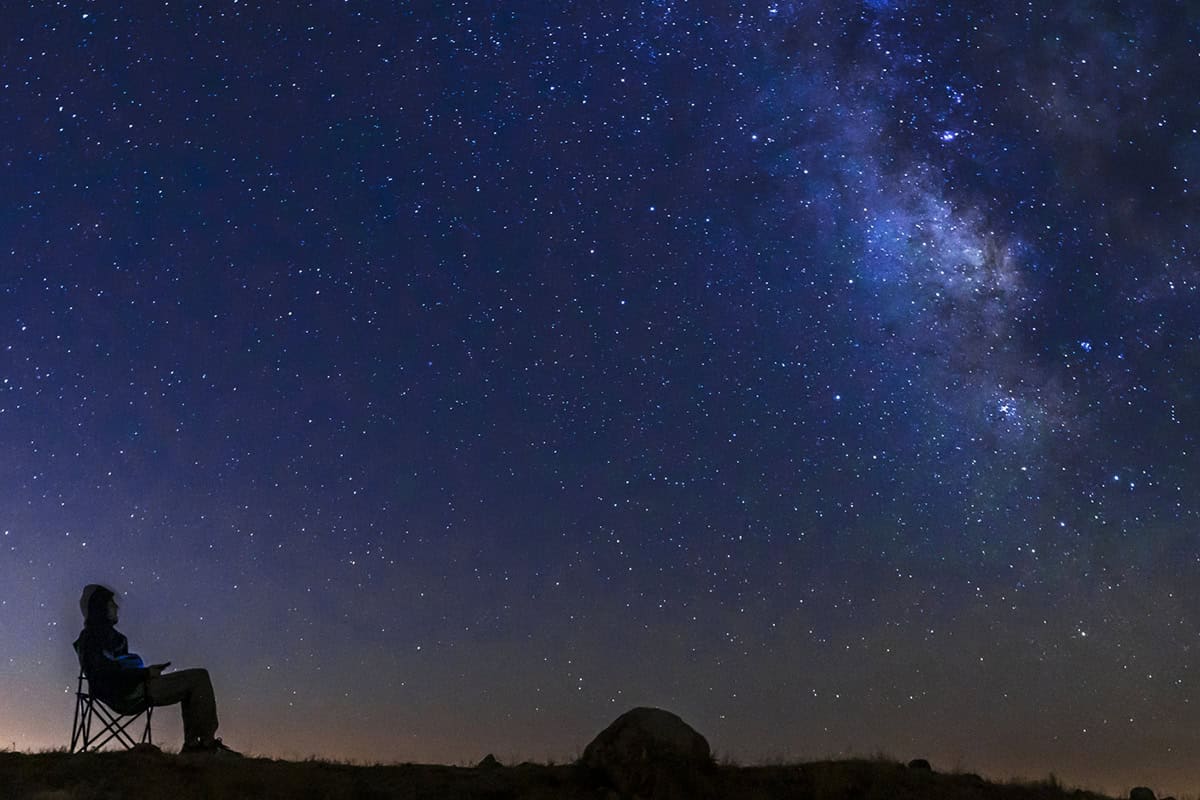
Stargazing for newcomers checklist: what to bring for your first night out
Should Newcomers Buy a Telescope Right Away?
Not usually — and I say that because most first telescopes are bought too quickly, which leads to frustration.
The smarter path is:
- Start with naked-eye stargazing
- Add binoculars if you want a stronger view
- Buy a telescope only when you understand what you want to observe (Moon/planets vs deep sky)
Choosing Your First Telescope (Without the Confusion)
Newcomer Stargazing Tips That Prevent Frustration
- Don’t chase “everything.” Pick one target per night.
- Stay out longer. The sky improves as your eyes adjust.
- Don’t rely on your phone. Use it lightly, then look up.
- Keep it enjoyable. The goal is curiosity, not performance.
Frequently Asked Questions
How do I start stargazing as a newcomer with no equipment?
Start by picking a clear night, stepping away from direct lights, letting your eyes adjust for 10–15 minutes, and focusing on easy targets like the Moon and bright planets.
What is the best first thing to look for when stargazing?
The Moon is the best first target because it’s bright, detailed, and instantly rewarding.
Do I need an app to stargaze?
No — but an app can help you confirm what you’re seeing. The key is to use it as support, not as the main experience.
A Simple Next Step
If you’re new, your best next step is not buying gear. It’s planning a first night that’s easy, comfortable, and rewarding.
Planning Your First Newcomer Stargazing Night
And when you’re ready to choose gear, we’ll keep that calm too — with beginner-friendly telescope recommendations that are designed for real stargazing, not frustration.

Explore stargazing for beginners, telescopes, and binoculars here