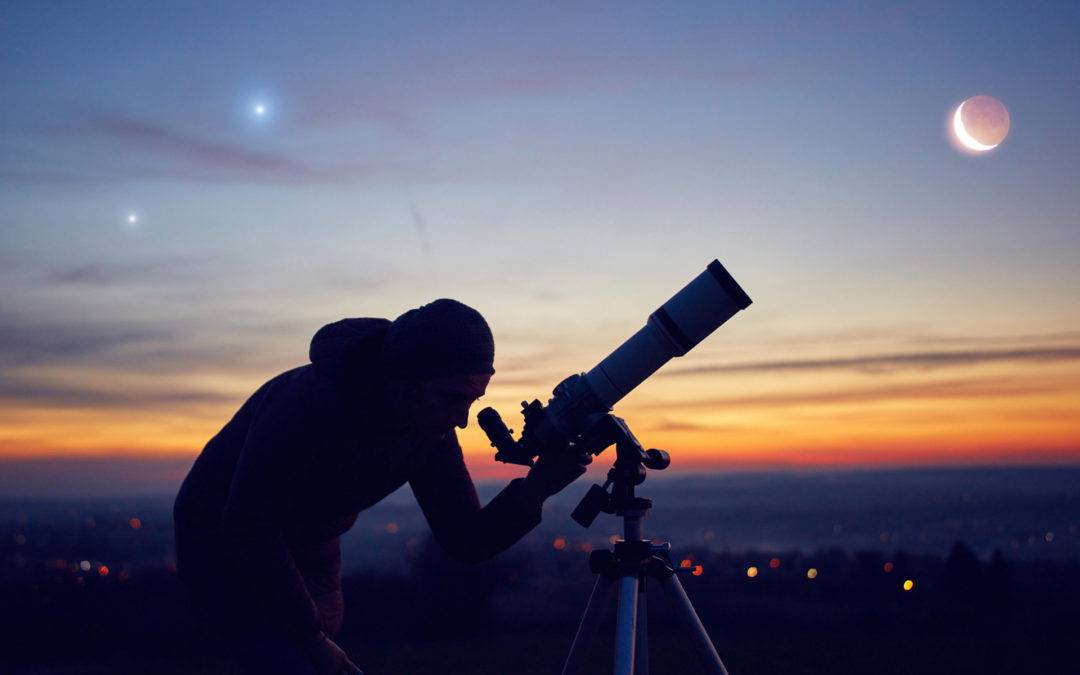
First Telescope Mistakes
Disappointed with your first telescope? Let’s look at common first-telescope mistakes and discover how preparation, magnification, and realistic expectations can improve your stargazing. Your first telescope should open up an extraordinary new world. But what happens when Jupiter looks like a tiny bright dot, the Moon refuses to come into focus, or you spend half an hour searching for Saturn and still can’t find it?
It’s tempting to blame the telescope. Perhaps it isn’t powerful enough. Perhaps you should have spent more money. Or perhaps astronomy is harder than you expected.
Before reaching any of those conclusions, consider this: many disappointing first experiences have little to do with the telescope’s quality.
Learning to use a telescope involves understanding the night sky, choosing suitable targets, managing magnification, and recognizing what your equipment can realistically show.
At White Star Outdoors, we’d like to take that discussion further by examining what these problems actually look like, why they happen, and what you can do about them.
1. Taking Your Telescope Outside Without a Plan
Imagine setting up your telescope on a clear evening, looking towards the sky and wondering where to begin.
You can see plenty of stars. Perhaps one particularly bright object catches your attention. But you aren’t sure whether it’s a planet, how to locate it through the telescope, or whether something more interesting is visible elsewhere.
This is one of the most common difficulties beginners encounter.
The night sky changes throughout the year. Earth rotates, planets move against the background stars, and the Moon’s position and brightness change from night to night.
An object visible during one season may be poorly positioned or completely below the horizon during another.
Why planning matters
Suppose you want to observe Jupiter.
Before setting up your telescope, you need to know whether Jupiter is visible from your location, approximately when it rises, and how high it will appear in the sky.
A planet positioned low above the horizon is often harder to observe clearly because its light must travel through more of Earth’s atmosphere.
Buildings, trees, and neighboring houses may also obstruct your view.
The same principle applies to the Moon. Although it’s a rewarding target, observing conditions change with its phase.
Around the first-quarter Moon, sunlight strikes the lunar surface at an angle that creates prominent shadows along the boundary between its illuminated and dark regions. This boundary is called the terminator.
Those shadows make craters, mountain ranges, and other surface features particularly interesting.
A full Moon is brighter, but the high Sun angle across much of its visible surface reduces the shadows that help reveal relief.
What to do instead
Choose two or three realistic targets before going outside.
For example, your first observing session might include the Moon, one bright planet if available, and a prominent star cluster.
Use a sky-map application to confirm their positions and visibility.
Our Best Stargazing Apps for Beginners guide explains several useful options, including Stellarium Mobile.
You don’t need an elaborate observing program. A simple plan prevents you from spending the entire evening searching unsuccessfully for objects that may not even be visible.
The beginner’s lesson: Knowing what to look for is often more valuable than knowing how much your telescope can magnify.
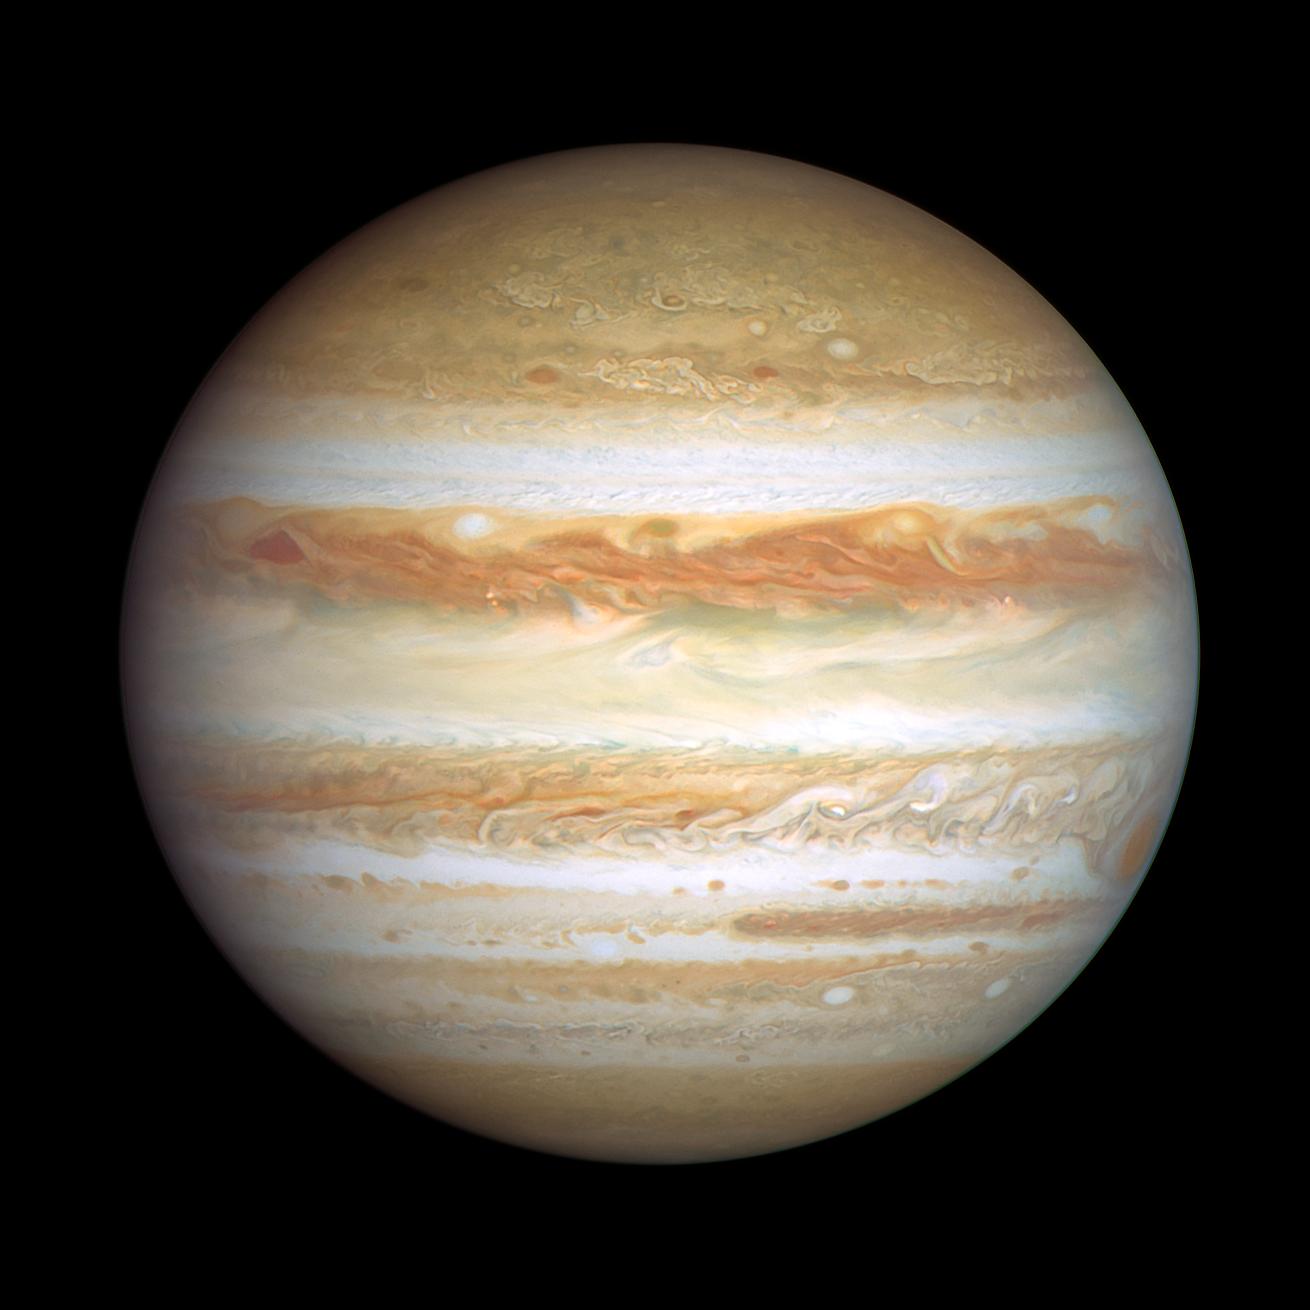
NASA Jupiter image
2. Expecting Your Telescope to Show What NASA Photographs Show
This may be the single biggest source of disappointment among new telescope owners.
We’ve all seen extraordinary astronomical photographs.
Saturn appears enormous, with sharply defined rings. Jupiter displays swirling clouds and enormous storms. Distant galaxies reveal colorful spiral arms, while nebulae glow with brilliant reds, blues, and greens.
Understandably, someone buying their first telescope might expect something similar.
But astronomical photography differs fundamentally from direct eyepiece observation.
Why photographs look different
Professional astronomical images often involve long exposures, sensitive detectors, specialized filters, and extensive image processing.
Cameras can collect light over time and combine multiple exposures to reveal faint details the human eye can’t perceive in the same way.
When you look through a telescope, your eyes are observing the light arriving at that moment.
This makes visual astronomy a different experience.
You may see less color and detail, but you’re observing an actual celestial object with your own eyes.
What will you really see?
The Moon
Even a modest telescope can reveal craters, mountain ranges, and extensive dark plains known as maria.
The Moon is an excellent first target because it’s bright, relatively easy to locate, and rich in visible detail.
Jupiter
Through a suitable beginner telescope, Jupiter appears as a small disc rather than a point of light.
You may recognize its two principal cloud belts when conditions are favorable.
Its four large Galilean moons often appear as tiny points of light arranged near the planet.
Their changing positions provide an excellent reason to observe Jupiter repeatedly.
Saturn
Saturn’s rings can be one of the most memorable sights in amateur astronomy.
However, their apparent orientation changes over time. When the rings are nearly edge-on from Earth’s perspective, they become much harder to distinguish.
You should not expect the enormous, detailed image familiar from space photographs.
Galaxies and nebulae
Many faint deep-sky objects appear as subtle greyish patches through an eyepiece.
Their appearance depends on aperture, sky darkness, atmospheric transparency and observing experience.
Some bright star clusters, meanwhile, can be especially rewarding because you may resolve individual stars clearly.
Why this matters when buying a telescope
If you expect photographic color and detail, you may spend considerably more money than necessary and still feel disappointed.
A larger telescope can reveal fainter objects and finer detail under suitable conditions. But aperture alone cannot turn a visual observing session into a long-exposure photograph.
Before buying, read What Can You Actually See Through a Beginner Telescope?.
It explains what beginners can reasonably expect from different celestial targets.
The beginner’s lesson: Buy a telescope for the views it can realistically provide, not for the photographs printed on its packaging.
3. Expecting a Telescope to Perform Perfectly the Moment You Take It Outside
Here’s a particularly confusing problem.
You set up your telescope, locate a bright planet, and carefully adjust the focus.
But the image refuses to become sharp.
You try another eyepiece. You turn the focus knob repeatedly. Nothing seems to help.
The problem may not be your eyepiece or the telescope’s optics.
It may be temperature.
What happens when a telescope changes temperature?
Suppose you store your telescope in a warm house and then carry it into a much cooler backyard.
The optical components and air inside the telescope may initially be warmer than the surrounding atmosphere.
As temperatures equalize, air currents can disturb the light traveling through the instrument.
These disturbances may soften fine detail, particularly when observing planets at higher magnification.
Larger mirrors can take longer to reach thermal equilibrium because they retain more heat.
This is one reason some Dobsonian telescopes include cooling fans.
How long should you wait?
There is no universal waiting time.
A small telescope may settle relatively quickly, while a larger instrument with a substantial temperature difference may take much longer.
The original Live Science article suggests allowing roughly 20–40 minutes as a starting point, with additional time for larger telescopes.
Treat that as practical guidance, not a guarantee.
You can still begin observing while the telescope adjusts. Low-power views of the Moon or bright star clusters may be enjoyable before the optics have fully settled.
How to recognize the problem
If a planet appears to shimmer or refuses to reveal fine detail, several factors could be responsible:
- The telescope may not have reached outdoor temperature.
- Atmospheric turbulence may be affecting the view.
- The magnification may be too high.
- Depending on its design, the telescope may need optical alignment.
The important point is not to assume that every blurry image has the same cause.
What about condensation?
Temperature changes can also cause moisture to form on exposed optical surfaces.
If dew covers the front lens or another optical surface, the view may lose contrast or appear hazy.
Avoid wiping delicate optical surfaces unnecessarily. Appropriate dew prevention is generally preferable to repeatedly cleaning the optics.
The beginner’s lesson: Give your telescope time to adjust, and remember that the atmosphere can limit image sharpness even when your equipment is working correctly.
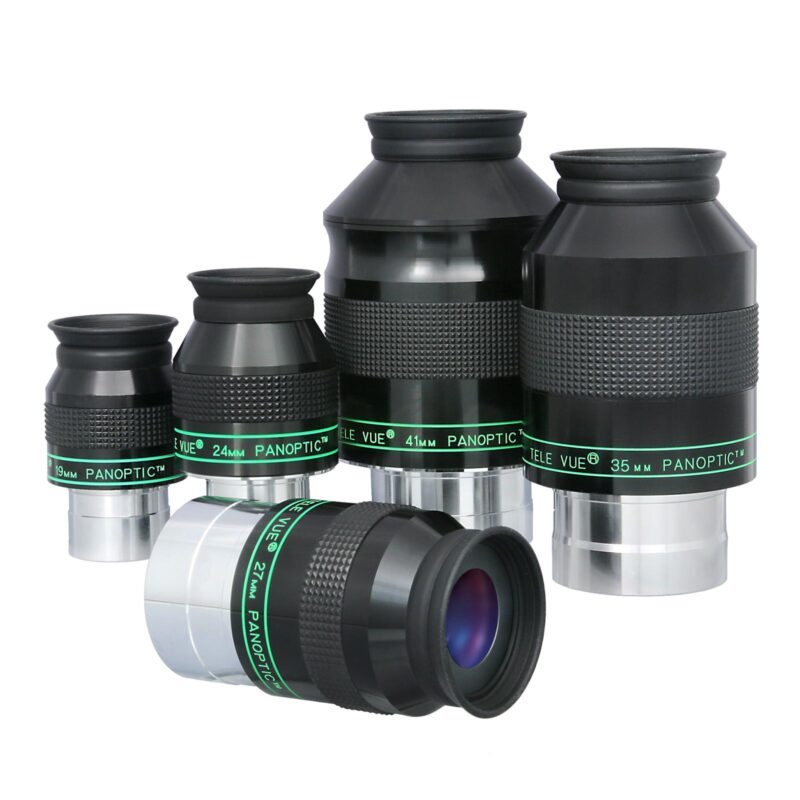
Magnification — different telescope eyepieces
4. Using Too Much Magnification
Many beginner telescopes are advertised using enormous magnification figures.
You may see packaging promoting 300×, 400×, or even higher powers.
Those numbers can sound impressive, especially if you’re hoping to see Saturn’s rings or Jupiter’s cloud belts.
Unfortunately, magnification is one of the most misunderstood aspects of beginner astronomy.
More magnification doesn’t necessarily reveal more detail.
Magnification enlarges the image the telescope produces.
It does not automatically increase the amount of detail the telescope can resolve.
If atmospheric turbulence or the telescope’s optical performance already limits the image, increasing magnification makes those limitations more apparent.
The result may be a larger but blurrier planet.
High magnification also narrows the field of view, making objects harder to locate and keep centered.
This is especially noticeable with a manually operated telescope.
How telescope magnification works
Magnification is calculated by dividing the telescope’s focal length by the eyepiece’s focal length.
For example, consider a telescope with a focal length of 1,200 mm.
| Eyepiece | Magnification |
| 25 mm | 48× |
| 20 mm | 60× |
| 10 mm | 120× |
| 6 mm | 200× |
A 25 mm eyepiece gives a wider view and is generally easier to use when locating an object.
A 10 mm eyepiece produces greater magnification, which may help when examining the Moon or planets.
A 6 mm eyepiece produces 200× magnification, but whether that view is useful depends on the telescope and atmospheric conditions.
Why aperture matters more than advertising claims
A telescope’s aperture is the diameter of its main light-gathering lens or mirror.
Larger apertures collect more light and, when optical quality and conditions permit, resolve finer detail.
An 8-inch Dobsonian, for example, has greater light-gathering and resolving potential than a similar-quality 6-inch Dobsonian.
But neither instrument can overcome poor atmospheric seeing simply by using a more powerful eyepiece.
A traditional upper-limit guideline is approximately 50× magnification per inch of aperture under excellent conditions.
In practice, atmospheric conditions often make lower magnifications more useful.
A simple approach for beginners
Start with your longest-focal-length eyepiece, which usually provides the lowest magnification.
Locate the target and center it carefully.
Once you’re comfortable with the view, change to a shorter-focal-length eyepiece if you want to examine more detail.
If the image becomes softer or less steady, return to lower magnification.
There’s no advantage in forcing a telescope to operate at a power that produces an inferior image.
The beginner’s lesson: The best magnification is the one that gives you the clearest useful view, not the largest image.
5. Assuming an Automated Telescope Will Do Everything for You
Modern telescopes can include impressive technology.
Some have motorized mounts that move automatically towards selected objects. Others connect to smartphone applications, provide guided navigation or capture images electronically.
These features can make astronomy more accessible, particularly for beginners who find locating objects difficult.
But automation doesn’t eliminate the need to understand the equipment.
What a GoTo telescope actually does
A GoTo telescope uses a motorized mount and control system to move towards selected celestial objects.
Once the system is set up and aligned correctly, it can locate targets and, on suitable mounts, track them as the Earth rotates.
However, many GoTo systems require initial alignment.
Depending on the model, this may involve entering or confirming the location, date, and time, positioning the telescope correctly, and aligning it using known stars.
If those steps are inaccurate, the telescope may point away from the intended target.
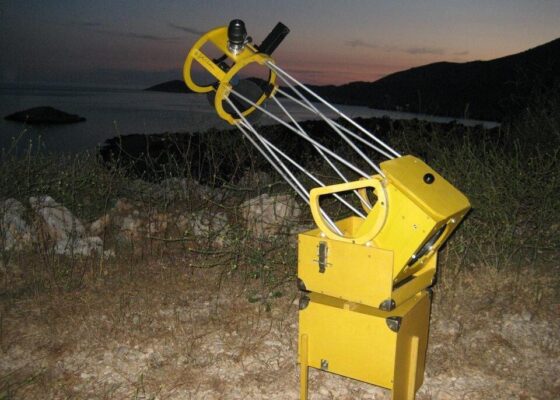
Equipment limitations
Why the type of mount matters
A traditional manual Dobsonian telescope is mechanically simple.
You move it by hand, using a finder to locate objects and making occasional adjustments as they drift across the field of view.
A motorized GoTo telescope can reduce the effort required to locate and follow objects, but adds electronic controls, power requirements, and setup procedures.
A smart telescope may go further by using a camera and software to collect and combine images.
These are different observing experiences.
A smart telescope that displays an electronically processed image is not doing the same thing as a traditional telescope used for direct visual observation.
Which approach is better for a beginner?
That depends on what you want from astronomy.
If your priority is learning the night sky and enjoying direct views through an eyepiece, a straightforward manual telescope may be an excellent choice.
If you find locating objects particularly difficult, automated navigation may be worth considering.
If capturing electronic images interests you more than looking through an eyepiece, a smart telescope may be worth considering.
At White Star Outdoors, our preferred all-round beginner recommendation is the Apertura AD8 8-inch Dobsonian, provided its size, weight and cost suit the buyer.
The Apertura AD6 offers a smaller alternative, while the Celestron NexStar 5SE suits someone who values automated object finding.
None is right for everyone.
Our Complete Beginner’s Telescope Buying Guide explains the considerations that matter before choosing.
The beginner’s lesson: Automation can make finding objects easier, but it doesn’t replace preparation, suitable conditions, or realistic expectations.
6. When the Problem Really Is Your Telescope
Although the five mistakes discussed in Live Science are useful, there’s another consideration worth examining.
Sometimes the equipment itself causes a disappointing experience.
Not every telescope suits beginners equally well.
A telescope may have adequate optics but an unstable mount. Another may be difficult to aim or uncomfortable to use.
These issues can make even straightforward observing unnecessarily frustrating.
An unstable mount
Imagine finding Jupiter and carefully adjusting the focus.
Every time you touch the telescope, the image shakes.
You wait for the vibration to settle, make another adjustment, and watch the image shake again.
This can turn an otherwise enjoyable session into an exercise in patience.
A stable mount is essential because it allows you to focus accurately and observe fine detail without constant vibration.
A poorly aligned finder
The finder helps you point the main telescope toward an object.
If it isn’t aligned with the telescope, you may center the Moon in the finder but see nothing through the eyepiece.
A practical solution is to align the finder during daylight using a distant stationary object, such as a building or aerial.
Never aim the telescope anywhere near the Sun during this procedure.
Optical alignment
Some reflector telescopes require occasional collimation, which means adjusting the alignment of their mirrors.
Poor collimation can reduce image sharpness, particularly at higher magnifications.
However, beginners shouldn’t assume every disappointing view requires mirror adjustment.
First, check focus, atmospheric conditions, eyepiece choice, and temperature.
When should you consider replacing equipment?
Consider upgrading only after you’ve identified a limitation that genuinely affects your observing.
Perhaps you want to see fainter deep-sky objects and need more aperture.
Perhaps your current mount is unstable.
Or perhaps you need equipment that is easier to transport and set up.
A more expensive telescope isn’t automatically a better telescope for your circumstances.
7. A Simple First-Night Observing Routine
The most effective way to avoid frustration is to develop a repeatable routine.
You don’t need specialist knowledge or expensive accessories.
You need a little preparation and a sensible order of operations.
Before going outside
Check the weather, identify suitable targets, and confirm when they’ll be visible.
Choose an observing location with a reasonably open view of the sky.
If possible, avoid nearby outdoor lights shining directly into your eyes.
Prepare your eyepieces, finder, and any other equipment you’ll need.
When setting up
Position the telescope on stable ground.
Check that the mount moves smoothly and that the finder is aligned.
If needed, allow the telescope time to adjust to outdoor temperatures.
Begin with a low-power eyepiece.
During your observing session
Start with an easy target.
The Moon is an excellent choice when visible, although bright star clusters and planets can also be rewarding.
Take time to examine what you’re seeing rather than immediately increasing magnification.
If the view becomes unsteady, try a lower power.
If you can’t find an object, return to your sky map and check its position.
And if conditions are poor, don’t assume your telescope has failed.
Afterwards
Make a brief note of what you observed, which eyepieces worked well, and any problems you encountered.
Over several observing sessions, these notes can help you recognize patterns.
You may discover that certain targets are easier to observe from your backyard, that one eyepiece performs particularly well, or that the atmosphere is often steadier at particular times.
This kind of practical learning is far more useful than continually changing equipment without understanding the problem.
Frequently Asked Questions
Why is everything blurry through my telescope?
Possible causes include incorrect focus, excessive magnification, atmospheric turbulence, temperature differences, or optical misalignment.
Start with a low-power eyepiece and focus on a bright, easy-to-find target.
If the problem persists, check the telescope’s setup and optical condition.
Why can’t I see Saturn’s rings clearly?
Saturn’s rings are relatively small through beginner telescopes, and their apparent tilt changes over time.
Ring visibility also depends on telescope aperture, magnification, and atmospheric conditions.
When the rings are close to edge-on, they can be particularly difficult to recognize.
Is a 6-inch telescope powerful enough for beginners?
A good-quality 6-inch telescope can provide rewarding views of the Moon, planets, star clusters, and numerous brighter deep-sky objects.
An 8-inch telescope offers additional light-gathering and resolving potential, but is generally larger and heavier.
The better choice depends on portability, storage, budget, and observing goals.
Do I need expensive eyepieces?
Not necessarily.
Many supplied eyepieces are perfectly adequate for beginning astronomy.
Before buying additional eyepieces, learn what your existing ones can do and identify whether they genuinely limit your observing.
Can light pollution make a telescope useless?
No.
Light pollution makes faint deep-sky objects more difficult to observe, but bright targets such as the Moon and major planets remain worthwhile.
You can enjoy astronomy from suburban locations, although darker skies greatly improve views of many galaxies and nebulae.
Final Thoughts: Learn Before You Upgrade
One of the most valuable lessons in beginner astronomy is that disappointing views don’t always require expensive solutions.
Sometimes the answer is a lower-power eyepiece.
Sometimes it’s choosing a better night, allowing your telescope to adjust to the temperature, or simply learning where to look.
And sometimes the answer is accepting that the universe looks different through human eyes than it does in processed astronomical photographs.
The Live Science article reminds us that successful observing depends on more than the telescope itself.
At White Star Outdoors, we believe beginners deserve realistic advice before they spend money and practical guidance once they begin observing.
The aim isn’t to own the most powerful telescope.
It’s to understand the equipment you have, recognize what the night sky can offer, and gradually develop the skills that make astronomy rewarding.
Explore beginner telescopes, binoculars, and best stargazing apps for beginners here:
Further reading
Kimberley Lane, 5 Common Mistakes Beginner Telescope Users Make — and How to Avoid Them, Live Science, 28 December 2025.
For further guidance, explore our Complete Beginner’s Telescope Buying Guide to learn how to choose equipment that suits your needs, expectations, and budget.